Categories
DIY

Hummingbird Food Recipe

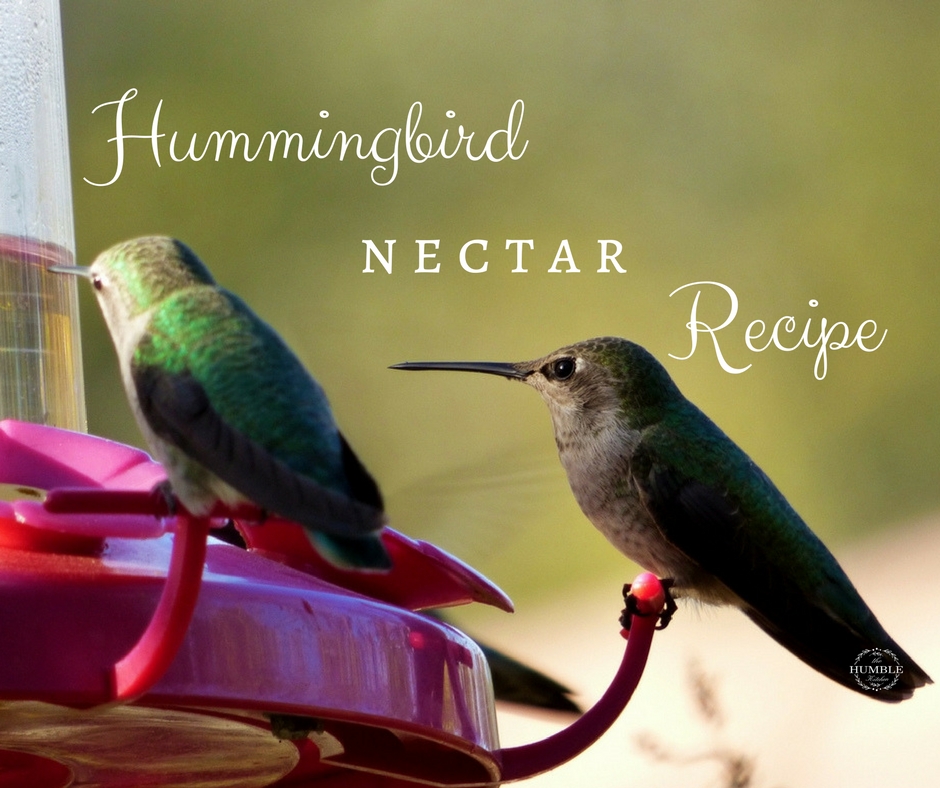
Fuel up your feathered friends with this simple 2 ingredient hummingbird nectar recipe! Admittedly, this article is a bit offside of my typical eczema or (mostly) healthy recipes… but my inner animal lover just couldn’t help herself!

(..kinda like my inner cookie monster… )

But hey!

Little birdies (like inner cookie monsters) gotta eat too!

Plus, what’s better than eating a nice, beautiful meal outside in the sunshine while listening and watching the birds?

Not much, that’s what.

So what are we waiting for? Let’s get started!

P.S. Any major animal lovers out there? I adore feeding the birds and sitting outside just so I’m surrounded by more animals!  Those little old ladies feeding pigeons in the park? That’s me in the future (just kidding, that’s me now).

Let me know in the comments how many animals you’ve got, or if you simply adore feeding the birds too!


  • 4 cups of water
  • 1 cup of white sugar

  1. Start by combining both ingredients in a large saucepan and bring to a boil.
  2. Allow the sugar to fully dissolve then remove from heat.
  3. Let the nectar cool before transferring to your hummingbird feeder.
  4. Store any remaining nectar in the refrigerator for later use
  5. Sit back and enjoy the lovely little birds visiting you!

To dye or not to dye, that is the question.

(and a heated debate, a little birdie told me)

The greatest concern about red dye for birds comes from not only the chemical itself, but how much the birds will consume. Although nectar is not a hummingbirds only food source (insects being another part of their diet, and just another reason to keep these birds around), it does make up the majority of their diet.

While no research points to dye being dangerous to birds, there is also no long term research revealing it’s safe. However, it is safe to assume that a birds metabolism and nutritional needs vary greatly from humans. Although red dye has been approved by the FDA for human consumption, it’s best to avoid adding it to your backyard bird’s dinner.

On top of it all, it’s important to note that natural nectar is clear, thus adding red dye is simply a unneccesary additive.

There are often complaints that hummingbirds won’t show up without red dye in the feeder. However this claim is unlikely. While hummingbirds do have a heightened sensitivity to red and yellow, unofficial studies have shown no preference to red over clear nectar.

Rather it is the sugar strength in the nectar, the cleanliness of the feeder, and distance away from percieved danger that play a much larger role in determining whether or not a hummingbird will feed at your feeder.

As for seeing red?

Some researches believe that the hummingbirds preference to red has become a conditioned response. After all, these little birds have an astonishing memory for the size of their brain -especially when it comes to food. They specifically seek out sources with the most energy (and with almost all commercial feeders being red), hummingbirds have began to anticipate high energy food when they see that color.

Rest assured that the red bases and floral decorations on your feeder will be more than enough to attract the birds. If desired, you can add additional red items nearby such as flowers, ribbons and ornaments to give your feeding area an added burst of color without any additional dyes!

Anna’s Hummingbird patiently waiting on a thorny branch. Photo: Dave Viklund


To keep our birdies happy and coming back, we’ve got just a couple things to do regularily.

  • Change the nectar mixture every 3 – 5 days to keep the feed fresh.
  • Be sure to check over your feeder over for any mold, ants, or other creepy crawlies everytime you change the nectar.

To clean your feeder:

  1. Rinse well with warm water
  2. Put a few drops of bleach into the water in your feeder
  3. Scrub with a bottle brush or a clean wash cloth
  4. Rinse thoroughly with clean water and let air dry
  5. Fill your feeder with fresh nectar
  6. Set outside for your feathered friends

That’s all there is to this simple hummingbird nectar (and some easy feeder upkeep)! Enjoy seeing these birdies daily, especially when you sit out on your deck eating summer dishes like the Smashed Blackberry Salad or the Spinach Raspberry Salad!

Health & Happiness,

Savannah
Categories
DIY Health

DIY Eczema Body Butter

Besides cooking and baths (especially bubble baths!), I love making DIY beauty treatments for myself to enjoy after a long hard day. Not only do they save a pretty penny (which is always a plus) but it gives you an excuse to take time out of your day to take care of yourself. Health is about feeling good inside and out! (Hello bath recipes, I’m looking at you).

I’ve been on the search for a homemade eczema cream with essential oils for a long time now. Those store bought body and hand lotions do nothing for me but sting, burn, and irritate my eczema. After the stinging subsides, my eczema turns redder than ever and the lotion’s soft skin benefits stick around for maybe half an hour? YES, even ones geared towards eczema sufferers.

Ridiculous, I know.

After expressing my frustration, my lovely grandmother gave me this body butter recipe to try (I’m pretty sure she actually got it from Dr.Axe so click here to see the original!). This recipe is easy to make, sting free, ultra LONG LASTING (I’m talking 12 hours+), and you go throughout your day smelling like flowers.

Dreams do come true!

(For those who don’t want to smell like flowers, scroll down to the tips and tricks segment of this article. You can thank me later!)

So if you’re ready for some wholesome goodness pampering let’s get right into it!

 INGREDIENTS

  • 1/2 cup pure shea butter
  • 1/2 cup virgin coconut oil
  • 30 drops of lavendar essential oil*
  • 8 drops of tea tree essential oil
  • 5 drops of rose or geranium essential oil (I used geranium)*
  • Airtight container

DIRECTIONS

Grab a pot and a glass bowl. Fill the pot with roughly an inch or two of water and place the glass bowl in the mouth of the pot. Make sure the glass bowl in wide enough that it doesn’t touch the water but rather sits a few inches above the water, being supported by the rim of the pot.

Heat the water over medium heat, and place the shea butter and the coconut oil in the glass bowl. Stir frequently until completely melted.

Once everything is well blended, add the essential oils and mix well.

Remove from heat, and let cool so that the mixture begins to thicken. Speed this process up by placing the mixture in the refrigerator for roughly half an hour. NOTE: You don’t want mixture to be completely solid, or it will be difficult to mix.

Once the edges of the mixture start to thicken, remove from fridge. Using a handheld or stand up mixer, beat the body butter for several minutes until it begins to get the consistency of lotion -five to ten minutes. (My kitchen was mega hot from all the other goodies I had cooking, so if your kitchen was like mine and your body butter refused to thicken, beat the mixture thoroughly for several minutes and place back in the fridge until solid)

Transfer to an air tight container and store at room temperature.


  1. As I said above, this lotion is ultra long-lasting. In order for it to be so long-lasting, it is on the oily side. Don’t despair as it dries completely in roughly half an hour, leaving you with amazingly soft skin for hours to come and creates a definite lasting barrier between your skin and the outside world
  2. If you don’t want to feel greasy before school or work, apply before bed and climb into your favorite jammies. YES, you will wake up with super soft skin (minus the grease), YES you’ll still feel the body butter’s barrier protecting your skin from the outside world (and locking moisture in), and YES you’ll wake up smelling like flowers. Jackpot!
  3. *Lavender, Rose or Geranium Essential Oil:  If you don’t want to smell like flowers, try replacing lavender essential oil with cedarwood essential oil and replacing the rose or geranium essential oil with juniper, frankincense, or birch essential oil. You’ll smell like the great outdoors -Win! 

Eager for more?

 Check out MomPrepares’s in-depth article on treating eczema with essential oils. You’ll find recipes for treating eczema in adults and children as well as valuable information on oils for allergies, dust mites, bacterial infections and so much more!

4. Last but certainly not least: Remember to use the body butter sparingly -a little goes a long way! 

There we have it!

A homemade eczema cream with essential oils. Soak it up and enjoy!

Health & Happiness,

Savannah