Your little ones first birthday is here! The time just seemed to fly by, didn’t it? It seems like only yesterday they came into this world, and now it’s time to celebrate! Cakes smashes have become increasingly popular over the years. Nowadays there are hundreds, if not thousands of different themes for a cake smash -but here’s how to create a Wild One.
Creating a Wild One cake smash comes down to five different aspects. The cake, the outfit, the decorations, the background, and photography.
The Smash Cake
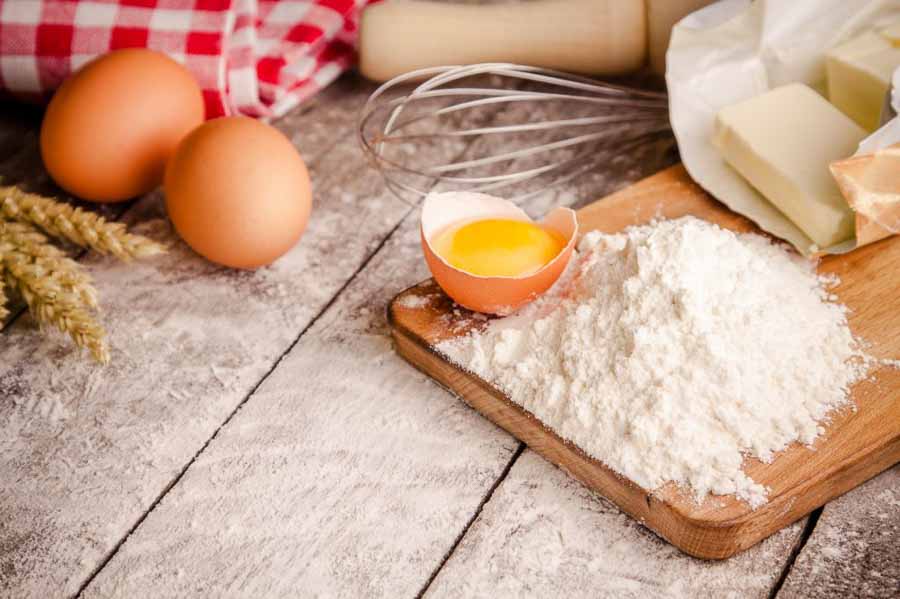
The cake is the star of the show, besides your little one of course! Keep in mind that the cake itself doesn’t need to be super extravagant. A smash cake is created for the little one to play in, get messy with, and snap some cute, memorable pictures. You can create one yourself, like this birch tree cake or you can order one from your local bakery.
Typically smash cakes are vanilla, confetti, or any other white cake topped with buttercream frosting. This allows them to get messy, without being overly distracting from the final images.
Some ideas for decorating a wild ones smash cake could be: a tree, buffalo plaid, or woodland creatures.
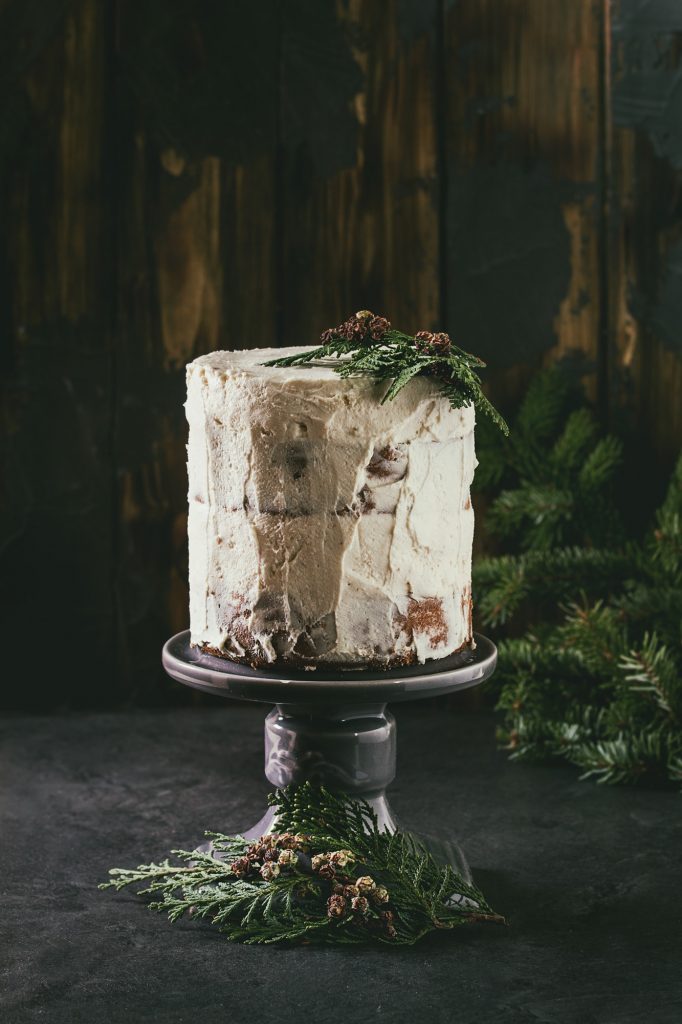
Winter Green Cake 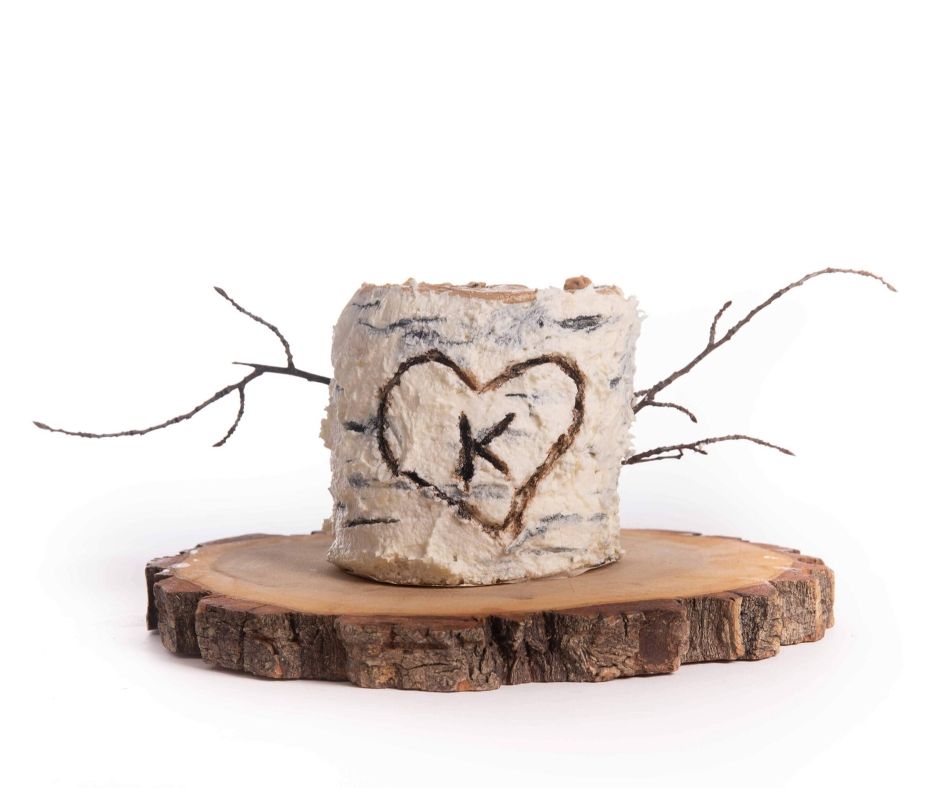
Birch Tree Cake 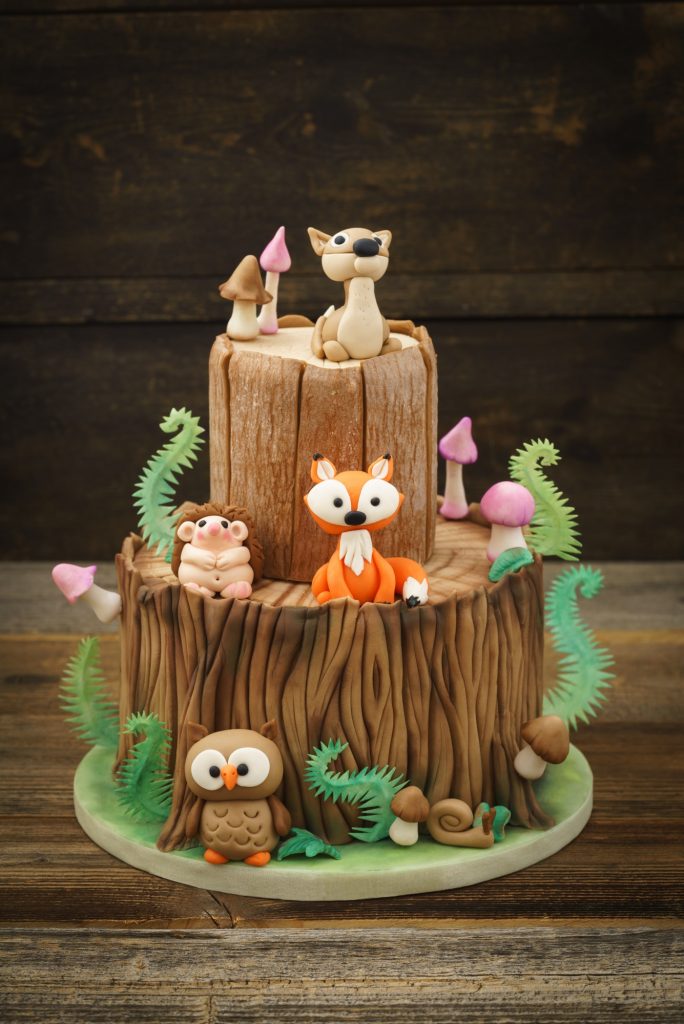
Enchanted Forest Woodland Cake
Here are some things to consider when choosing a cake for a cake smash.
- Cakes created heavily with black or red food coloring can stain the skin. Although harmless, your little one could spend the next couple days looking like he or she was caught red handed!
- Keep in mind that chocolate cakes, although delicious, can end up looking like something else altogether when smashed up and spread around.
- A child can get a handful of buttercream frosting in their mouth without issue, but a handful of fondant is chewy and poses as a potential choking hazard. The artistic, fondant cakes should be reserved for the big cake.
- If ordering a cake, don’t call the day of, or even the day before. Your local bakery will need a minimum of 2-3 days to create a custom smash cake.
The Wild One Decorations
Time to set the scene for your little party animal to let loose. How you choose to decorate is really up to you, but here are some ideas to help pull the theme together.
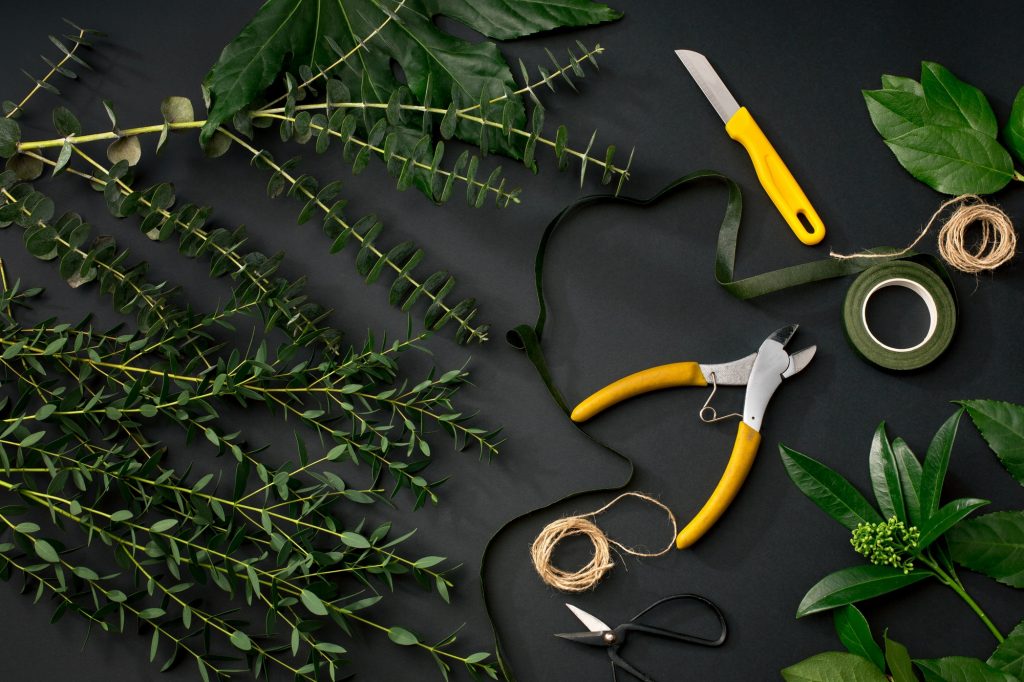
- Bring nature in: Add logs, twigs, or live plants to your set up.
- Crates: Add a rustic touch.
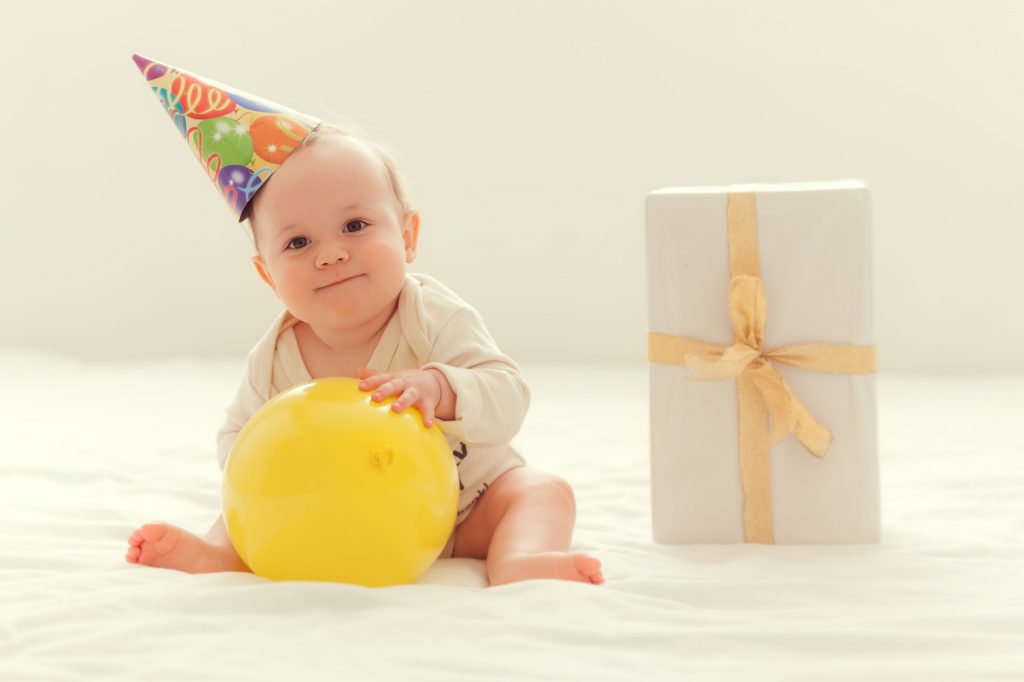
- Wild One Balloon: Nothing says ‘Wild’ like this giant balloon (literally). You can couple this with a balloon arch as well!
- Where The Wild Things Are Book: A timeless classic, and a picture perfect prop for a studious wild thing.
- Woodland Creatures: Whether you’re going for safari animal wild or Canadian wilderness wild, a couple stuffed animals help set the scene.
- Signs: Such as ‘Stay Wild’, ‘Wild Child’ or ‘Wild and Free’.
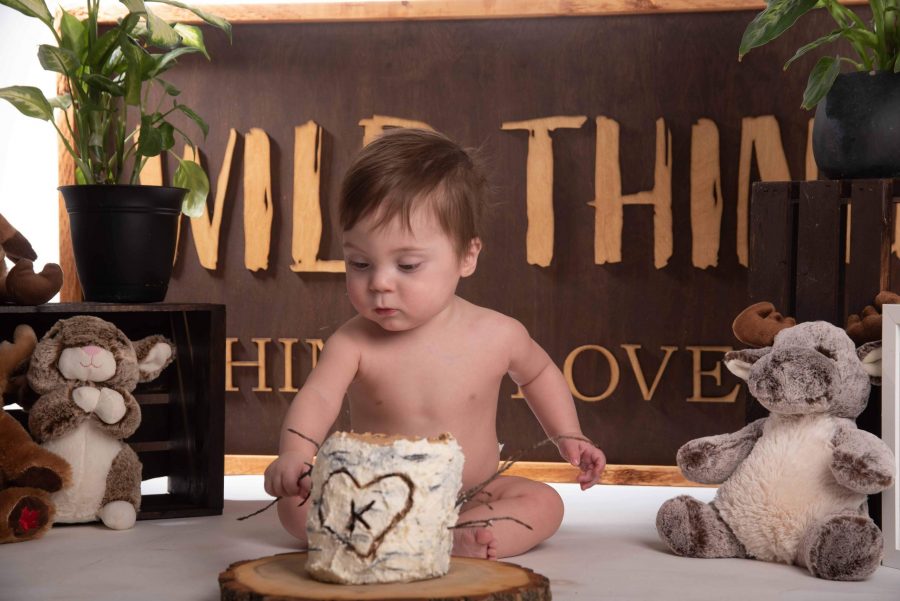
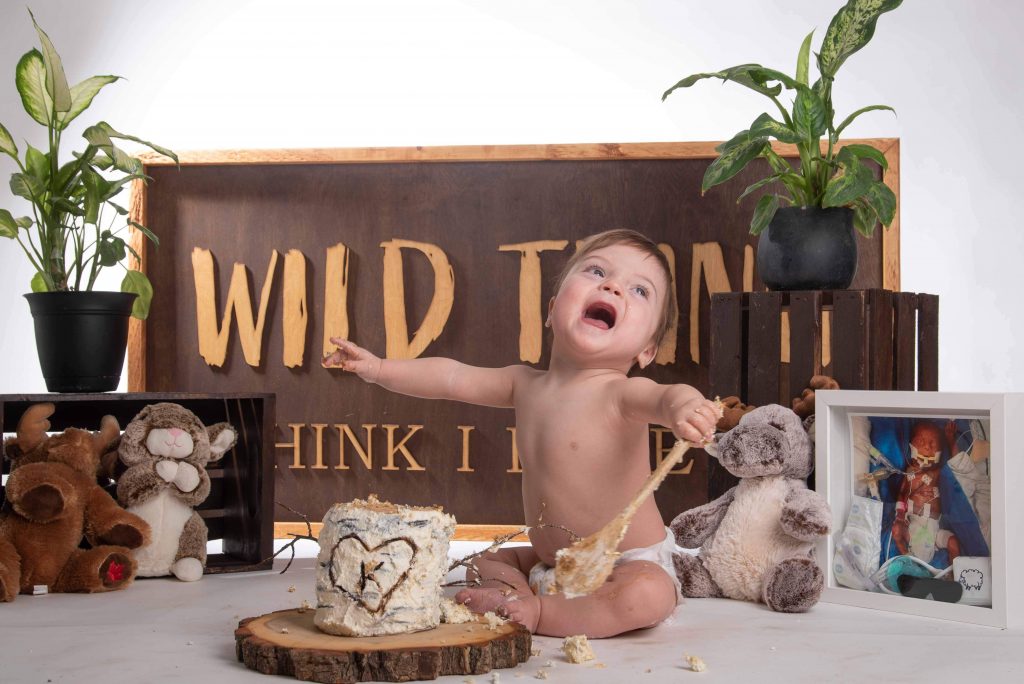
The ‘Wild Thing, I Think I Love You’ was a custom sign built by www.ourcountrycreations.com. I wanted a large one with rustic feel, that captured my love for this little wild thing -while also playing off my love for older music.
The Background
When choosing the background it’s important to keep it simple. After all, the main focus is your little one. The best background for a wild one cake smash would be the great outdoors, with all the trees and flowers acting as the perfect backdrop for your little one to rumpus in. If you are taking pictures outside, try to avoid taking pictures at noon when the sun is at its peak to avoid harsh shadows.
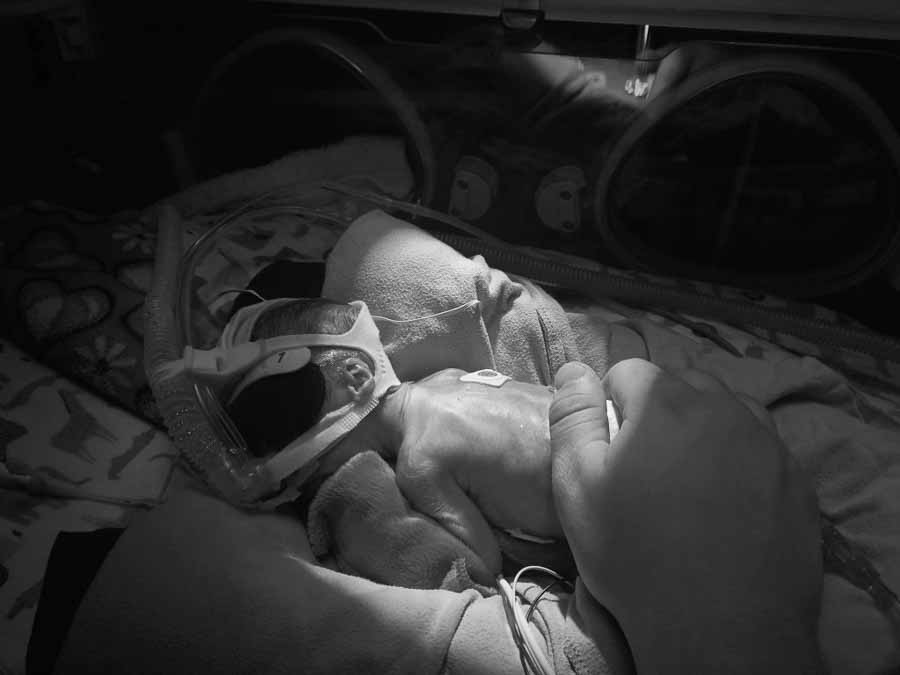
However, if you were blessed with a winter baby like myself, and outside photos are not an option -go for a plain, black or white paper backdrop. This gives your little one the center stage, as well as making for easy cleanup after its all said and done.
Stay away from backdrops that have a picture printed on them to set the scene for some far off land. These are often busy and distracting. If you must go with a pictured backdrop, go easy on the decorations, and be aware that they are more difficult to clean.
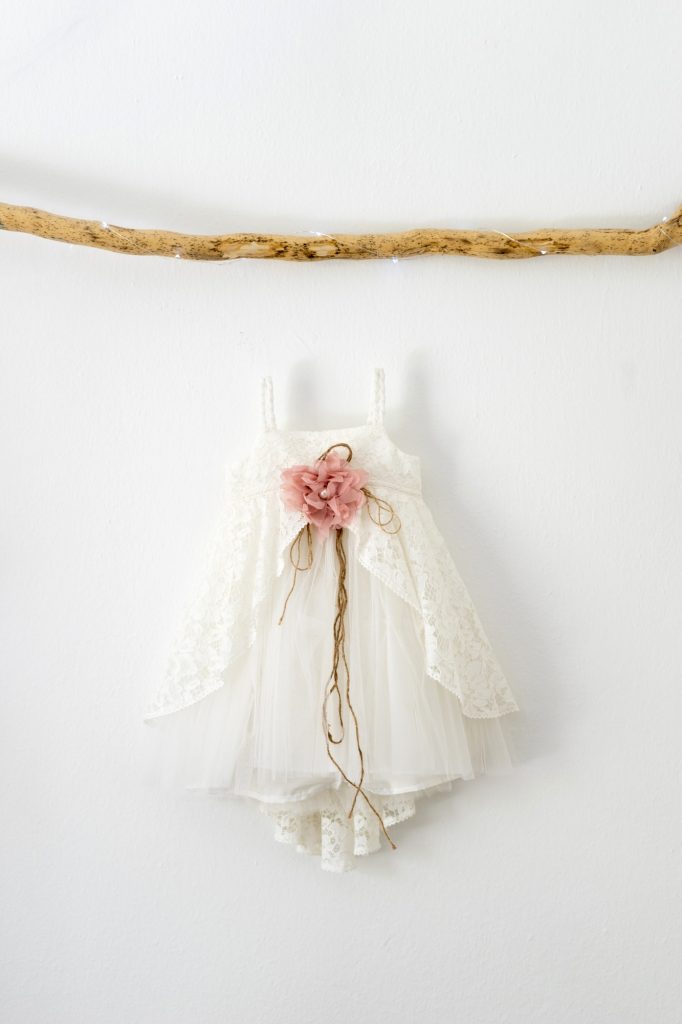
The Cake Smash Outfit:
There are a variety of outfits out there for your little one to sport during the photos. From suspenders and bow ties, to party hats, or flowy dresses. You can dress your baby however you see fit. Just try and avoid paying too much or getting too attached to an outfit that’s gonna be worn during the photoshoot – it might not make it another day. Especially if the cake uses deeply pigmented food coloring!
If all else fails, a diaper works just fine too.
The Photography:
For high quality pictures, you need a high quality camera and proper lighting. Be sure that this is already set up, before bringing your baby in for the photos -since their patience (and consequently time to take pictures) is low. If this isn’t your forte, a professional photographer can take care of it all. Just bring your little one, the cake, and some decorations and let the photographer capture their special day!
Limit The Number of People:
Keep the amount of people at the photoshoot low. I know everyone and their dog wants to watch as the little one discovers the wonder of cake for the first time, but too many people create a distraction, bring conflicting opinions, and can get in the way of the photographer.
Plus, there is very little opportunity to visit the little one while the photoshoot is happening, and even afterwards. There’s only (roughly) a 30-45 minute window of opportunity for pictures, and then after that its straight into the bath. After all that excitement, the little one is likely pretty tuckered and ready for a snooze.
For your money’s worth, just record a video of them at the shoot to show friends and family later. We held our sons cake smash on his actual birthday, that fell on a Thursday, and then threw him a birthday party on one of the following weekends. This way, we got pictures to capture his first birthday and everyone was still able to visit and celebrate with him in the days that followed.
Enthusiasm:
Bring a smile and excitement. If you feel stressed or anxious, your baby will feel the same way. Take a deep breath, smile, and enjoy the moment no matter which way it goes.
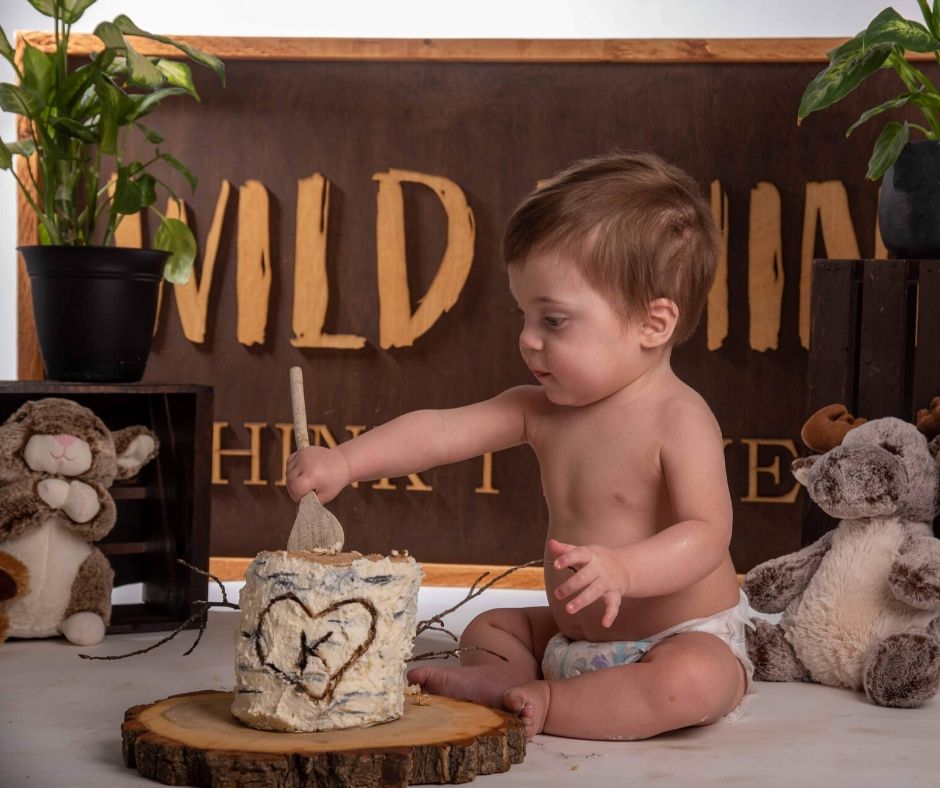
Lastly, when all else fails… add a wooden spoon!
Health & Happiness,
Savannah